Hey everybody! I recently found out this great tip about how to keep your fake nails glued on WITHOUT DAMAGING THEM! You can even reuse them over and over so long as you are careful! Are the stickers not strong enough for you, but the glue is too much? Keep reading because I may have a solution for you!
If you read my previous post about owning fake nails, you'll see that it says that nail glue often ruins the integrity of the natural nail. The reason behind this is because when you try to take them off, most of the time the glue rips the layers of your own nail off when you try to take off the rest! Not only that, but sometimes you can risk breaking/ruining your false nails if they are glued on TOO tightly. Most of the time the only option to get tightly glued nails off is to soak in acetone nail polish remover which will MELT the false nail off! You can't reuse the set after that, but there IS an easy alternative adhesive method that I am here to discuss!
1. Start off with a clean nail plate for all nails.
2. Paint your nails with regular nail polish, let dry COMPLETELY.
(One or two coats may be necessary depending on what type of polish you use; you don't want it to be too thin)
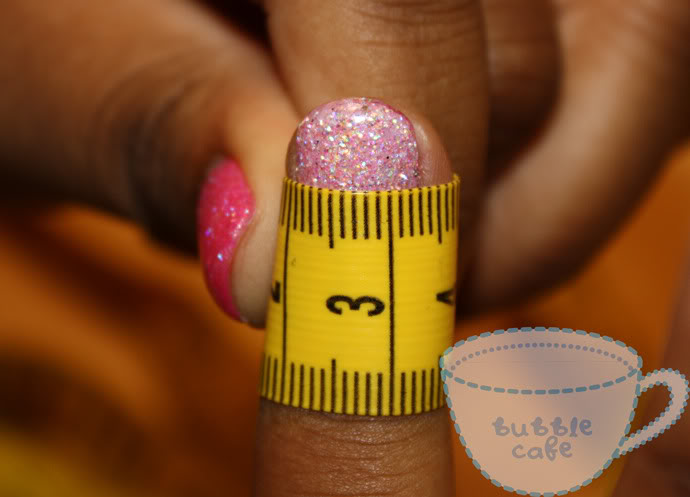
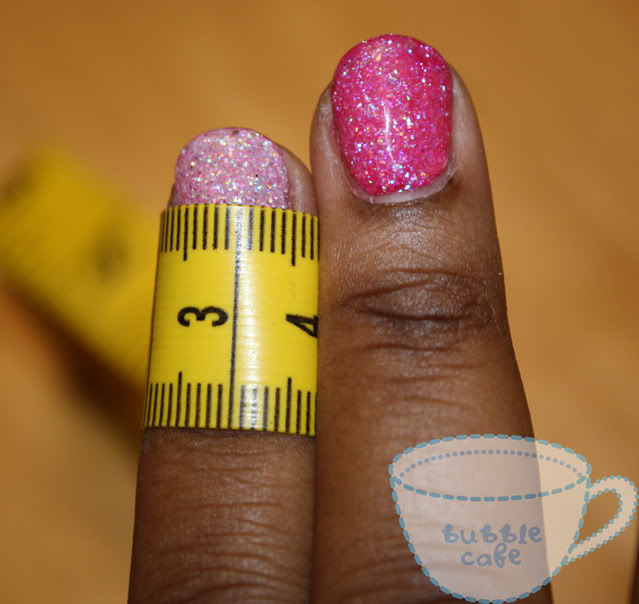
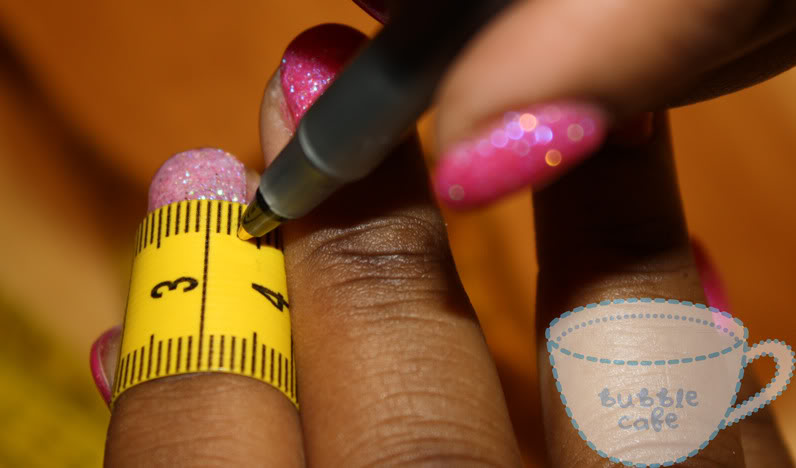
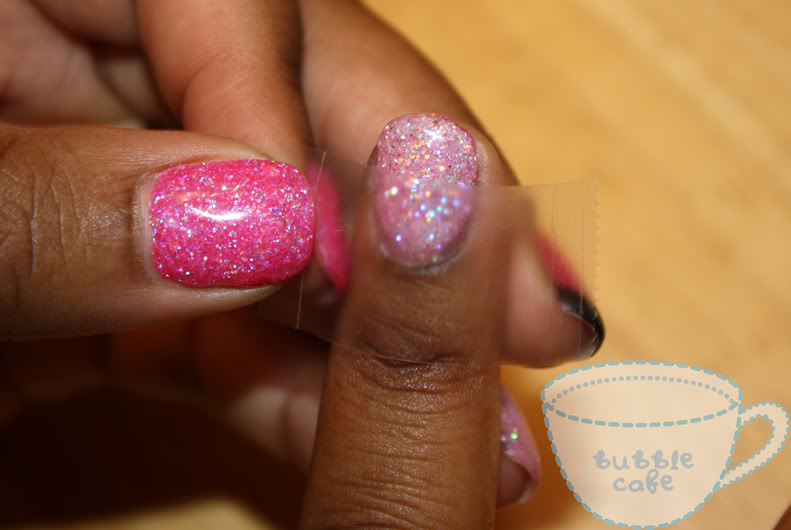
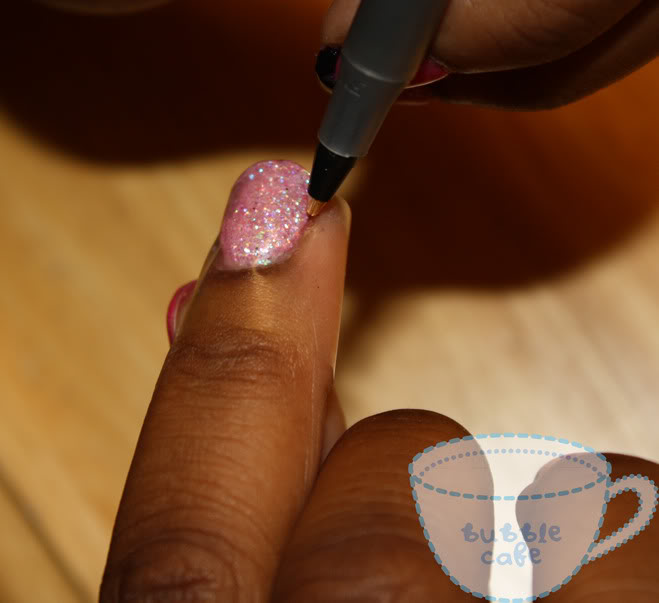
3. After the nails have fully dried, glue the fake nail tips ON TOP of the polish. This way, the nails will stick to the film of polish and NOT the natural nail.
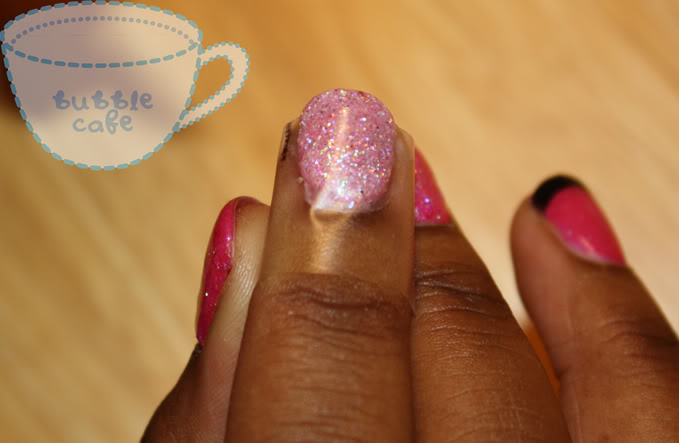
4. Press and secure false nails onto nail plate, and go about your day!
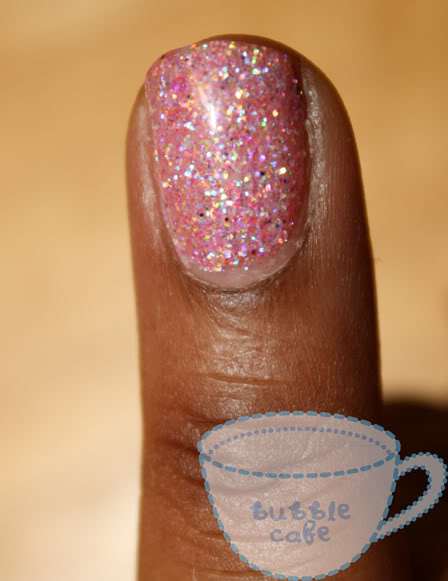
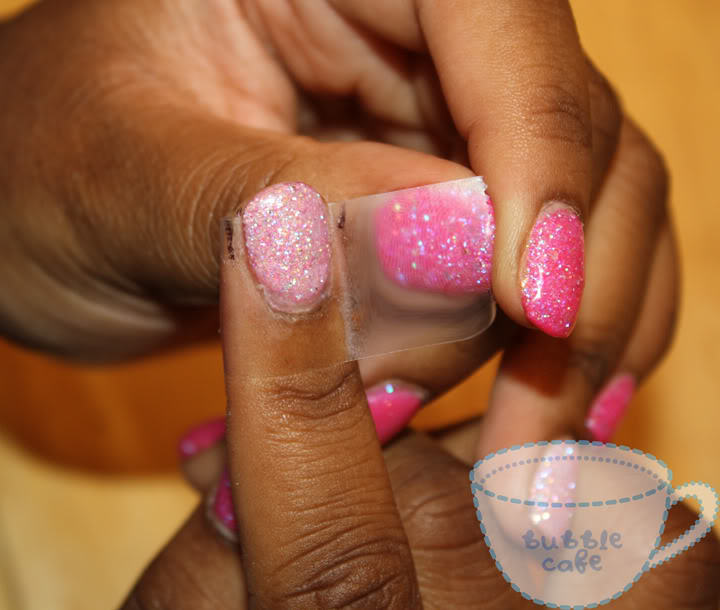
6. When you are ready to remove the fake nails, all you have to do is pell them off and the best part is that the POLISH BENEATH is the only layer that peels off, salvaging both your natural nail and nail tip!
Guidelines:
- If possible, try to match the polish color with the color of the nail tip so nothing accidentally shows through/around the edges.
- This method doesn't work as well with clear designs, but maybe if you use a thick clear top coat as your polish it will help! I haven't tried it yet, personally!
- You shouldn't worry about removing the dried polish from underneath the nail tips until it starts to build up from applying too many layers. If you MUST remove the polish from the nail, be sure to use non-acetone polish remover and a Q-tip to gently rub across the UNDERSIDE of the nail ONLY. You don't want to risk ruining the design on the face of the nail tip, so use the remover sparingly!
Til next time, stay bubbly!
-Ren
If you read my previous post about owning fake nails, you'll see that it says that nail glue often ruins the integrity of the natural nail. The reason behind this is because when you try to take them off, most of the time the glue rips the layers of your own nail off when you try to take off the rest! Not only that, but sometimes you can risk breaking/ruining your false nails if they are glued on TOO tightly. Most of the time the only option to get tightly glued nails off is to soak in acetone nail polish remover which will MELT the false nail off! You can't reuse the set after that, but there IS an easy alternative adhesive method that I am here to discuss!
1. Start off with a clean nail plate for all nails.
2. Paint your nails with regular nail polish, let dry COMPLETELY.
(One or two coats may be necessary depending on what type of polish you use; you don't want it to be too thin)
3. After the nails have fully dried, glue the fake nail tips ON TOP of the polish. This way, the nails will stick to the film of polish and NOT the natural nail.
4. Press and secure false nails onto nail plate, and go about your day!
6. When you are ready to remove the fake nails, all you have to do is pell them off and the best part is that the POLISH BENEATH is the only layer that peels off, salvaging both your natural nail and nail tip!
Guidelines:
- If possible, try to match the polish color with the color of the nail tip so nothing accidentally shows through/around the edges.
- This method doesn't work as well with clear designs, but maybe if you use a thick clear top coat as your polish it will help! I haven't tried it yet, personally!
- You shouldn't worry about removing the dried polish from underneath the nail tips until it starts to build up from applying too many layers. If you MUST remove the polish from the nail, be sure to use non-acetone polish remover and a Q-tip to gently rub across the UNDERSIDE of the nail ONLY. You don't want to risk ruining the design on the face of the nail tip, so use the remover sparingly!
Til next time, stay bubbly!
-Ren


 RSS Feed